Integrating with external APIs has become a fundamental part of modern application development. However, building and maintaining API client libraries can be tedious and error-prone, especially when dealing with complex APIs that change frequently. Traditionally, developers have written these clients manually, which has resulted in a lot of code and models that need maintaining when the API evolves.
In this blog post, we will explore an alternative approach using Microsoft Kiota for automatically generating strongly-typed API clients from an API’s OpenAPI specification. There’s also the added benefit that all client implementations look and feel similar, providing a better developer experience.
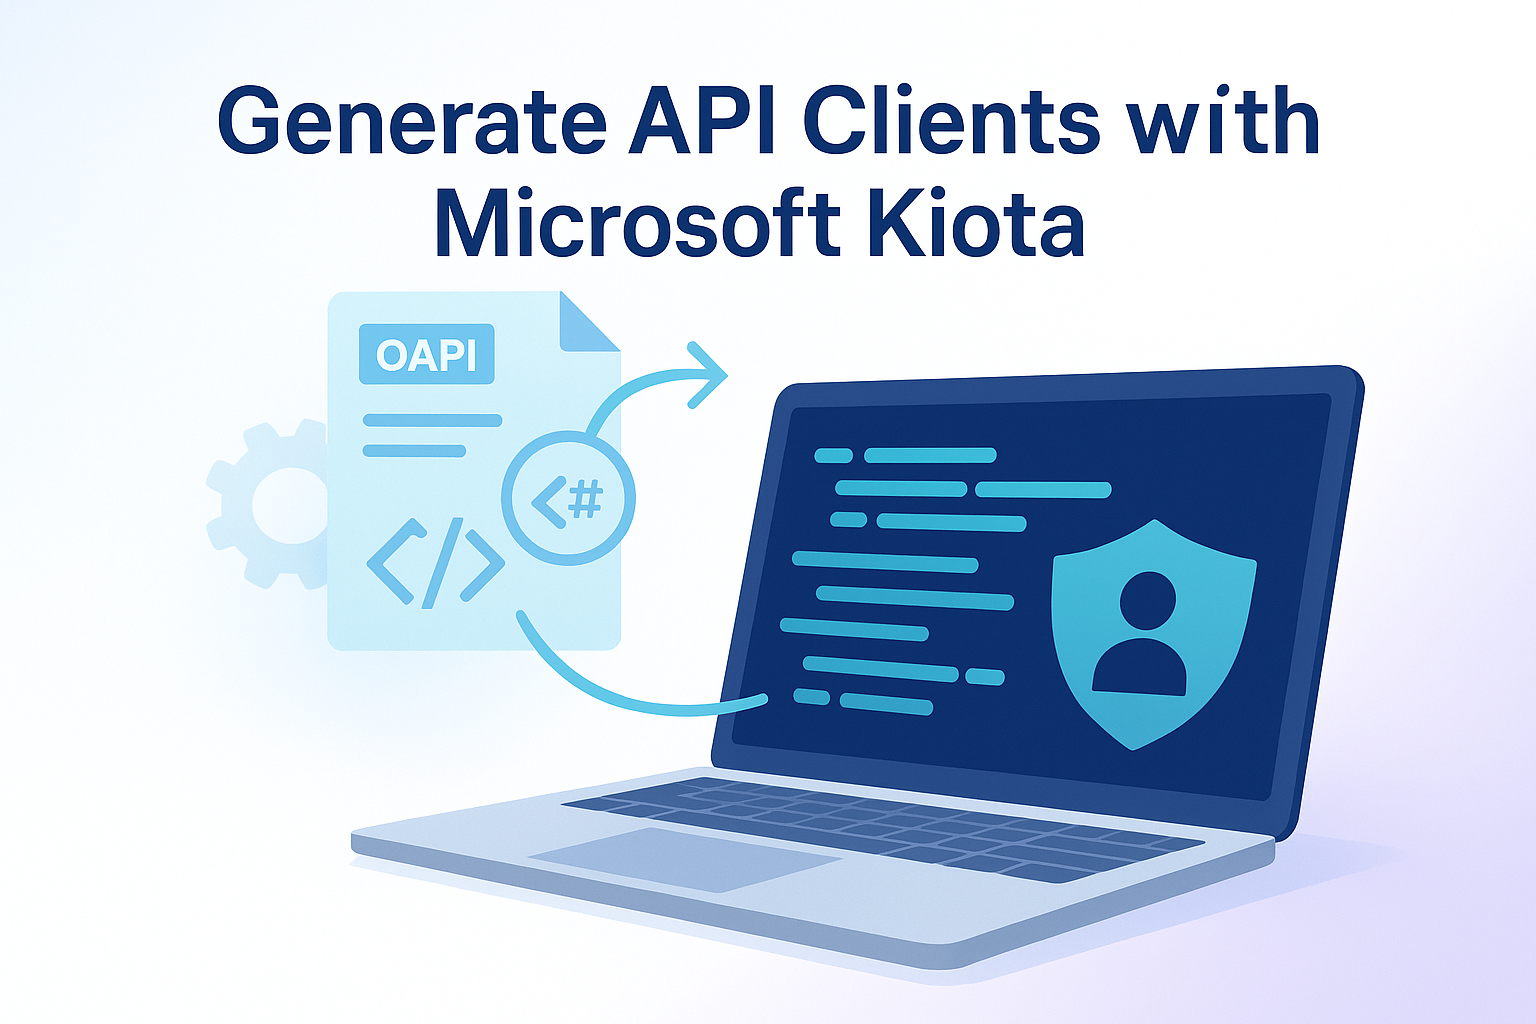
Microsoft Kiota
Before diving into how to set everything up, we will briefly go over what Kiota is and what the benefits of using it are.
What is Kiota?
Kiota is a command line tool that generates an API client based on any OpenAPI specification. It creates a client with fluent syntax and wraps all requests and responses in easy-to-use models. It even converts endpoint parameters into models, making it easy to call any endpoint.
Key Benefits
There are many benefits to having your API client generated. Some of these benefits include:
- Time saved: Understanding and creating API wrappers can be a tedious and time-consuming task.
- Low maintenance: When an API specification changes, it’s only a matter of regenerating the client.
- Standardized implementations: All API clients look and feel similar, providing a better developer experience.
- Minimizing external dependencies: Instead of relying on a third-party dependency that may change unexpectedly or be abandoned, you control your own API client that directly interfaces with the service.
Real-world Impact
From my own personal experience, using Kiota has changed integrating with new services from a tedious, time-consuming task to an overall great experience while eliminating many of the errors that typically come with a custom implementation. Before, a new integration could easily take a few days, whereas now it can be completed in as little as an hour.
Now that we understand what Kiota is and its advantages, let’s walk through the practical implementation process.
Getting Started
Now that we have covered what Kiota is and why you should use it, let’s take a look at how to get started generating your first client.
Installing the CLI
The first thing you need is the CLI tool. Luckily, it comes as a .NET tool, so it’s very easy to install. If you don’t have a .NET tool manifest in your solution you should create one first with the following command:
| |
This will create a new file .config/dotnet-tools.json which from now on holds information regarding installed .NET tools. For more information on this see the official documentation on .NET tools
.
With the tool manifest in place we can now proceed with installing Kiota with the following command:
| |
API Client Project
With the Kiota CLI installed we can now move on with setting up the API client project. To do this add a new class library project to your solution. Once setup install the Microsoft.Kiota.Bundle NuGet package to add the Kiota dependency.
Setting Up the OpenAPI Specification
Now we are ready to setup the auto-generation of the client. For this we will need the OpenAPI specification of the API we want to wrap. For this example we will use the Swagger Petstore API
. First, we will put the OpenAPI specification into our project in the file Resources/petstore-openapi.json.
Configuring the Project File
With the OpenAPI speicifcation included in our project we can now change the .csproj to setup generating the client on rebuild:
| |
All we need to do now is rebuilding our client project and it should output our Petstore client. There should now be a PetstoreClient class in our project which we can use for calling the API.
With our client now generated, let’s see how we can use it in a practical application.
Testing the API Client
With our new API client in place we can now test that everything works as intended. For demonstration purposed I have created a console application with the following lines of code:
| |
This makes a POST request with a new pet and then retrieves it with its ID. If everything works as intended the createdPet should be retrieved and populated from the API.
The fluent syntax and strong typing provided by Kiota make the client both easy to use and maintain, while providing excellent IntelliSense support in your IDE.
Next Steps
Now that you have the basics of generating API clients with Kiota, here are some advanced topics to explore:
Authentication Options
- OAuth 2.0: Implement token-based authentication for secure API access
- API Keys: Use header or query parameter-based API keys
- Client Certificates: Set up mTLS for highly secure APIs
Advanced Request Handling
- Request Middleware: Create custom middleware for logging, caching, or modifying requests
- Retry Policies: Implement intelligent retry logic for transient failures
Error Management
- Custom Error Handlers: Properly handle API errors and exceptions in a production environment
- Logging: Set up comprehensive logging for troubleshooting
For comprehensive guidance on these topics and more, refer to the official Kiota documentation .
The complete code from this blog post is available on GitHub . Feel free to clone it and experiment!
If you’d like to see more detailed coverage of any specific Kiota topic in a future post, let me know in the comments below.